Sugar Chest
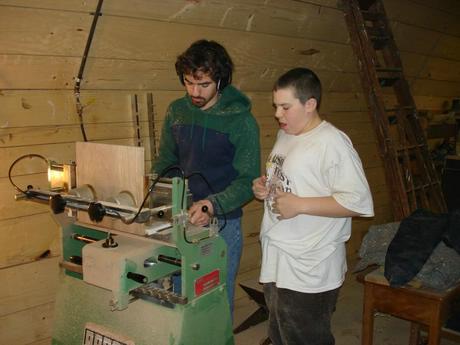
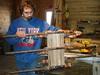
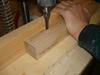
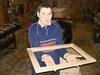
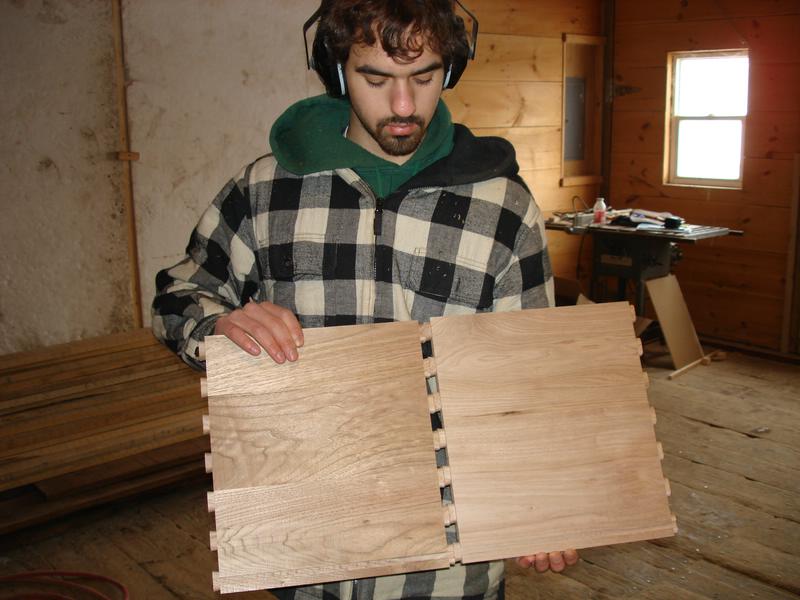
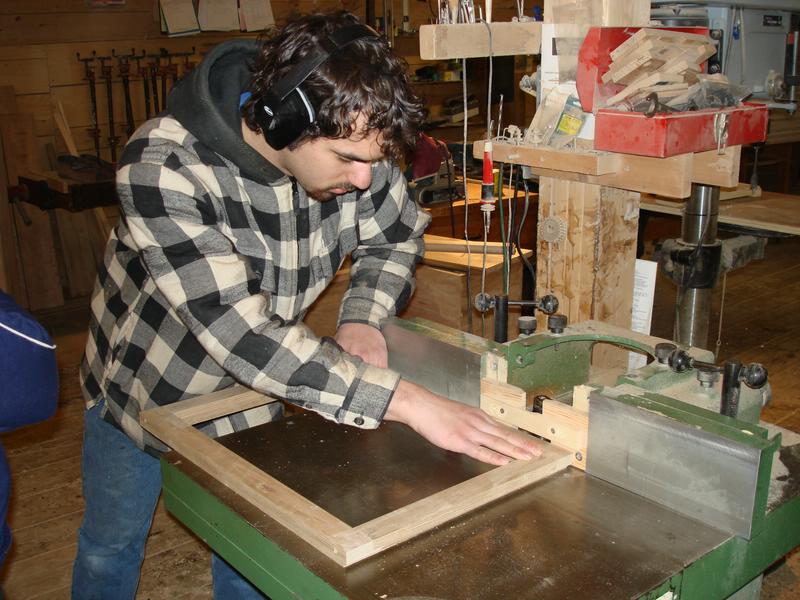
Justin and Bobby clamp a front back of a sugar chest into the dovetail machine.

Sugar Chest
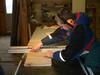
Here, dove tails are being cut in a front and back.

Sugar Chest
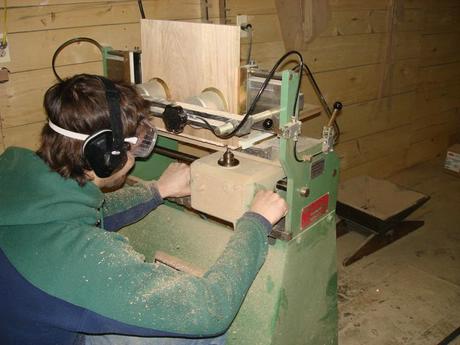
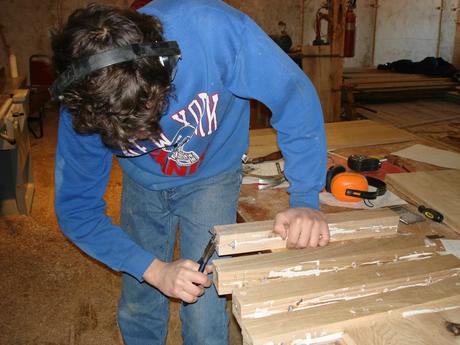
Bobby cuts dados to hold the bottom of the chest.

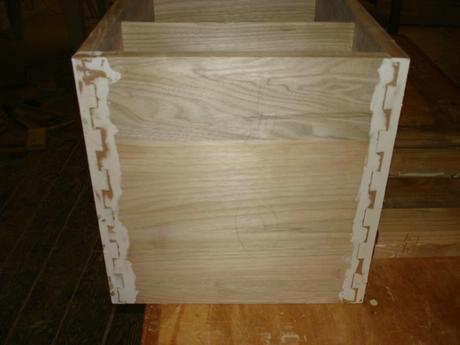
Sugar Chest
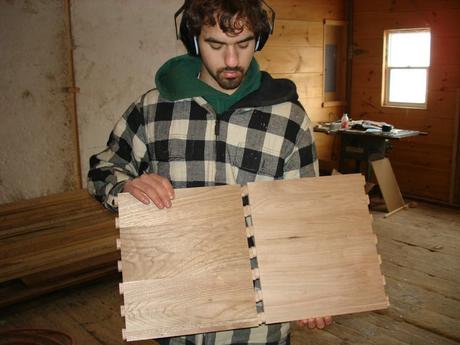
The front and back with dadoes cut in them.
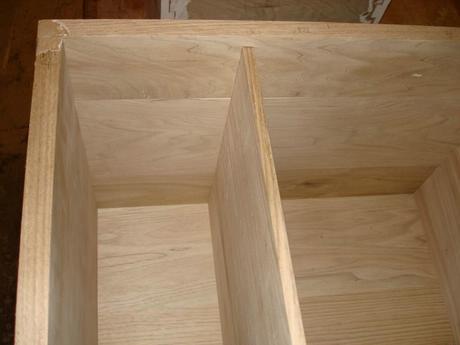
Sugar Chest
In order to hold a partition, a dado has been cut in the sides.


Sugar Chest
The partion is fit into the dado.

Sugar Chest
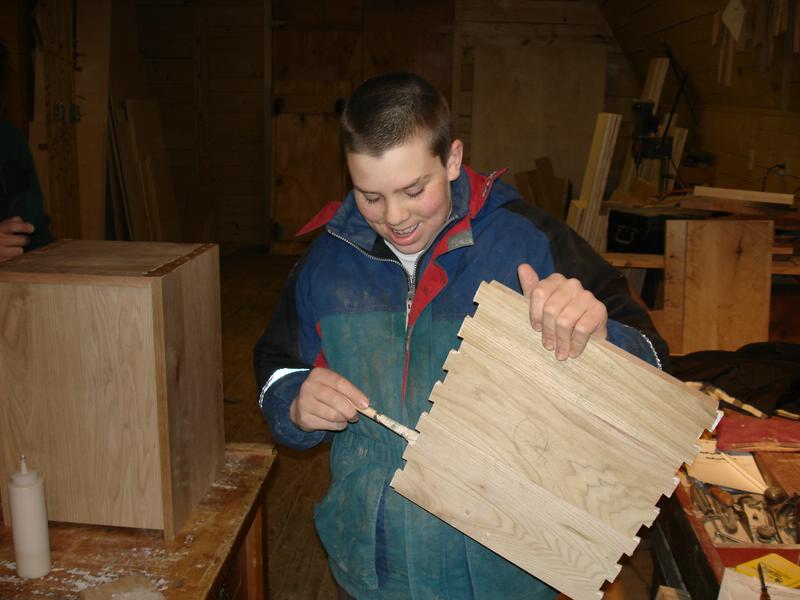
Bobby brushes glue onto the dovetails.

Sugar Chest
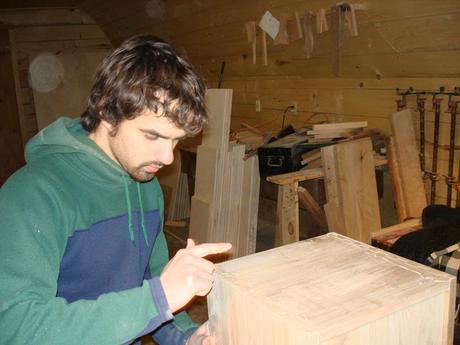
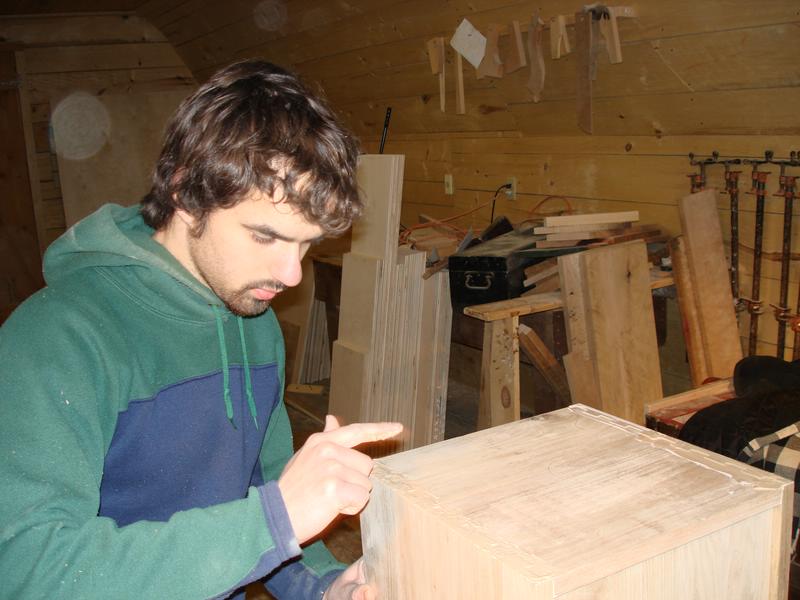
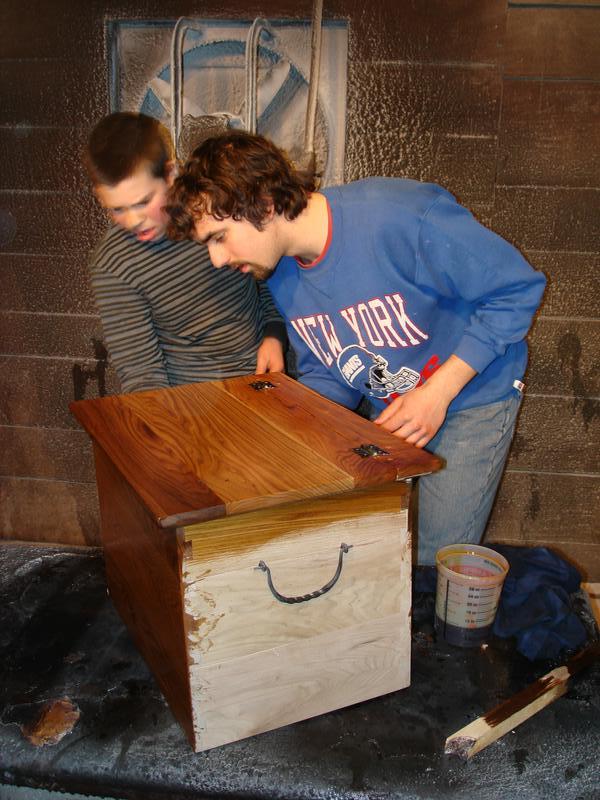
Here, the chest part has been put together and Justin is spreading putty over the joints.

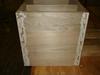
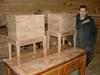
Sugar Chest
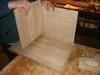
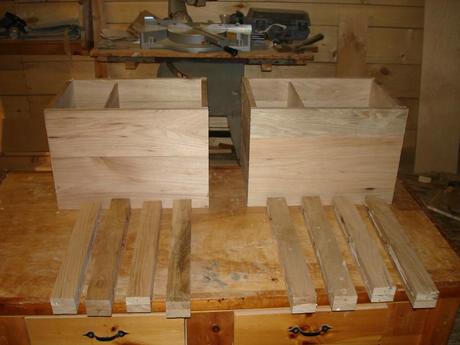
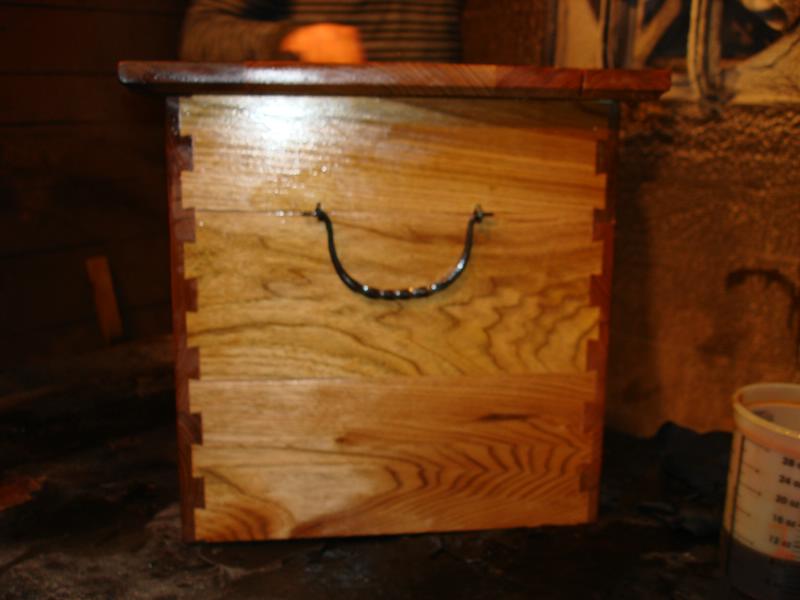
It still needs love, but the main part of the piece is complete.
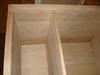
Sugar Chest
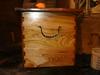
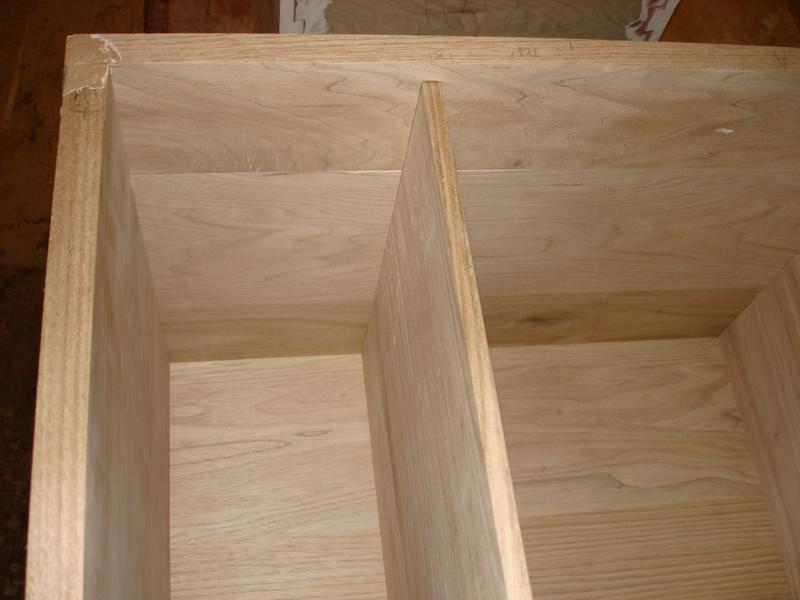
A closeup of the inside of the sugarchest.
Sugar Chest
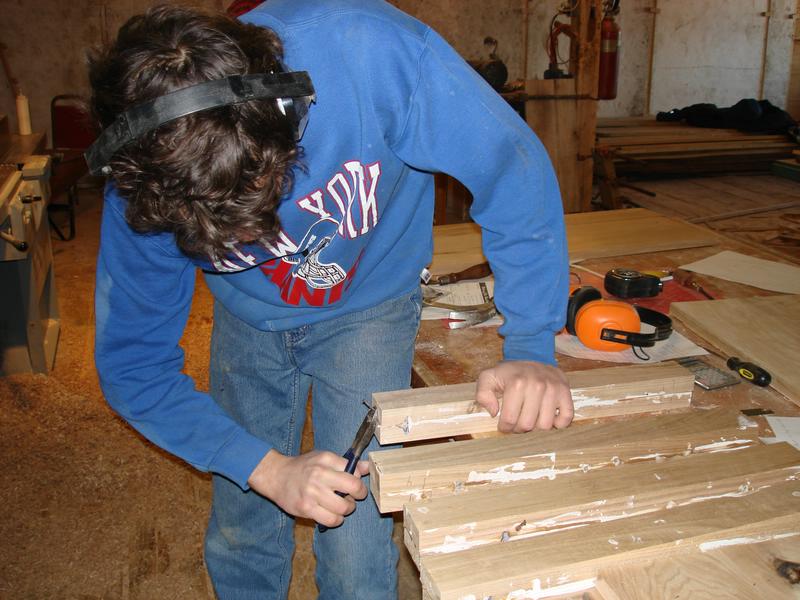
Butternut has been glued and clamped for the legs.

Sugar Chest
Now that the glue has dried, nails that helped clamp it are being removed.
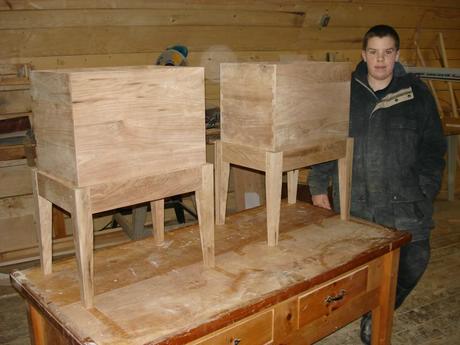
Sugar Chest
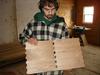
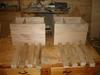
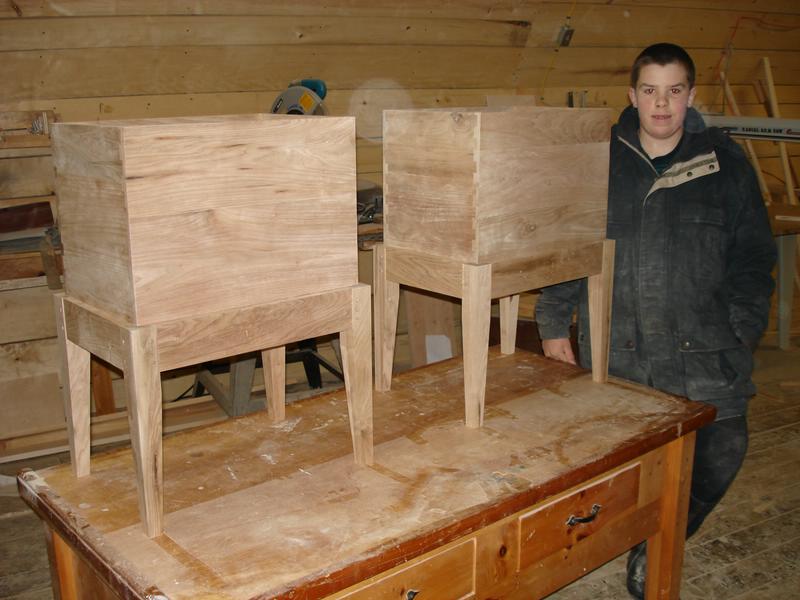
Legs displayed with their assigned chests.
Sugar Chest
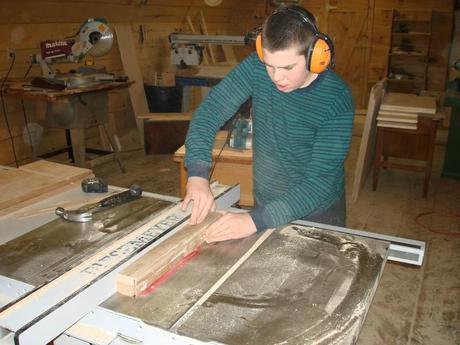
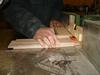
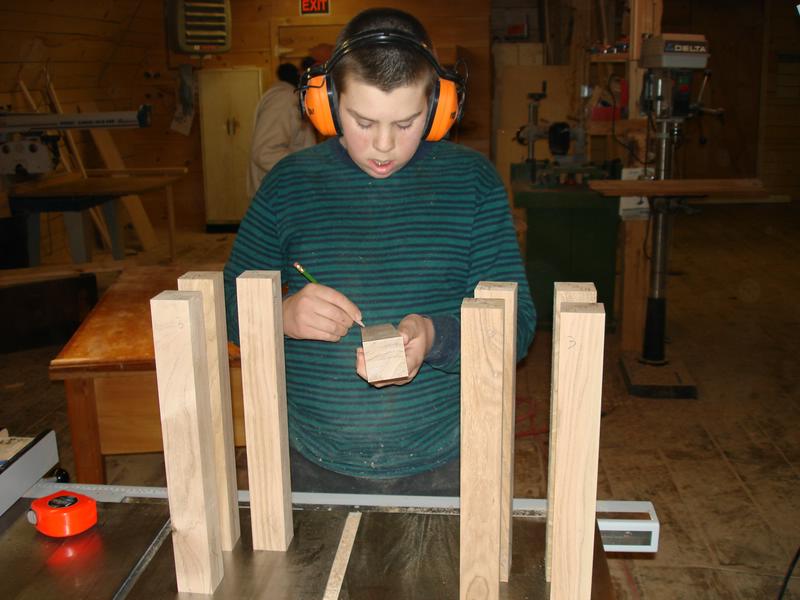
Bobby cuts each leg to size via the table saw.
Sugar Chest
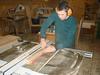
After being cut to size, each leg is then marked for the next part of the job.


Sugar Chest
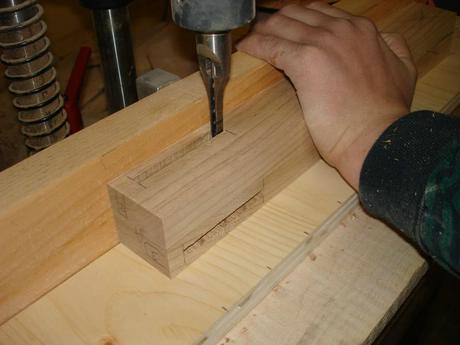
Useing the information marked on the legs, slots are then cut out.
Sugar Chest
Here, sides are having tennons cut in them to join each leg.

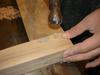
Sugar Chest
A closeup of the tennon and Bobby.

Sugar Chest
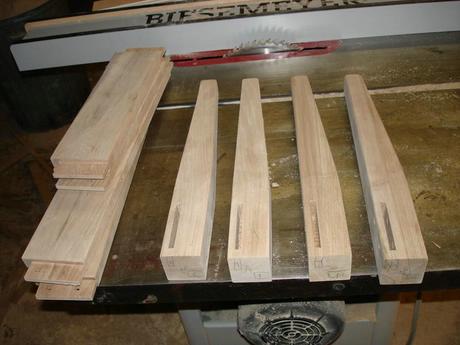
All the legs and and their supports before being put together.

Sugar Chest
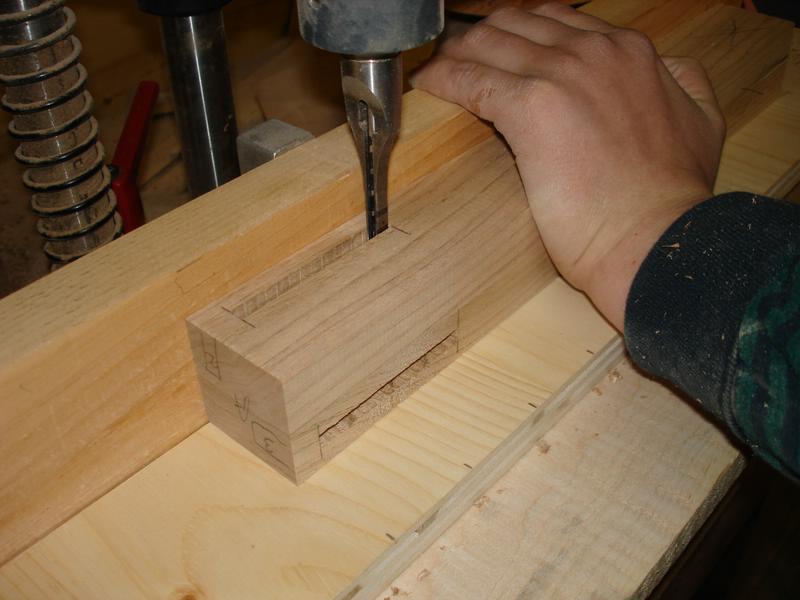
Square holes have been cut in the legs and the tennon for the pins that will hold them together.
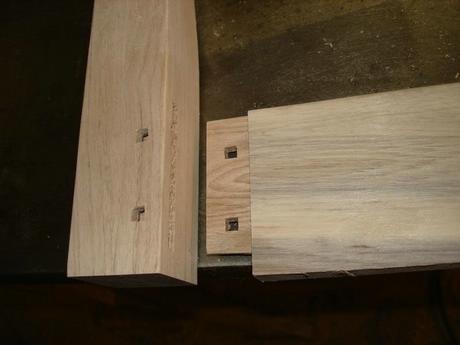

Sugar Chest
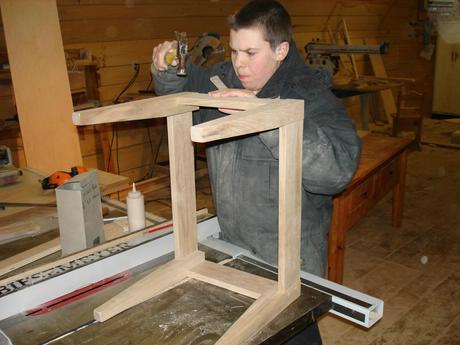
The tennon is now being fit into it's slot.

Sugar Chest
Pins are now hammered into the holes making the leg and the tennon one.
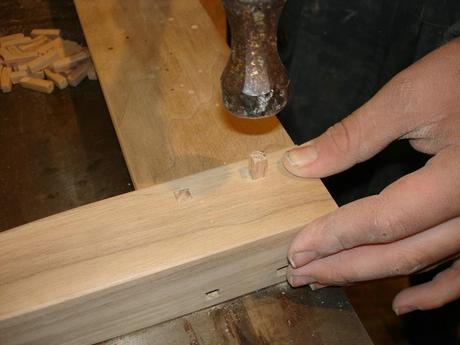
Sugar Chest
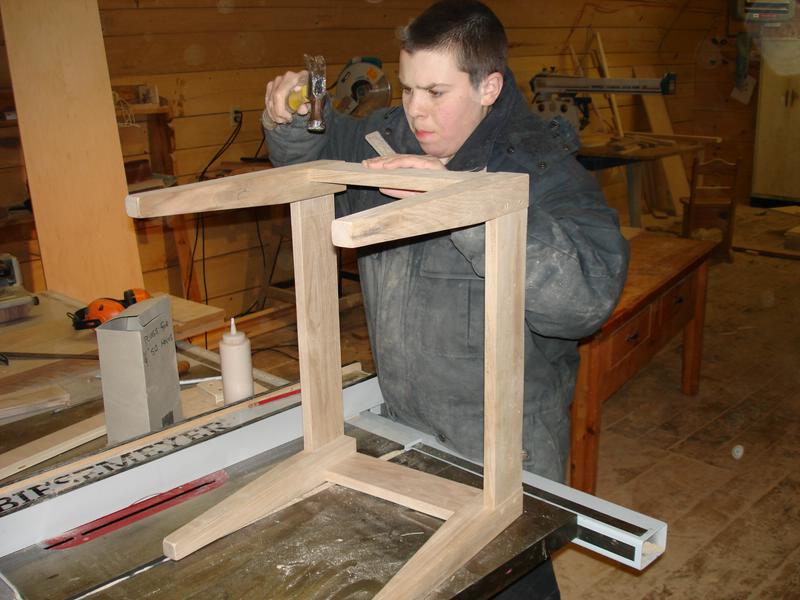
Bobby hammers the last two pins in.

Sugar Chest
The legs completed.
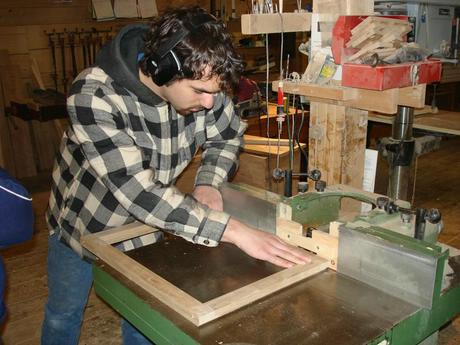
Sugar Chest
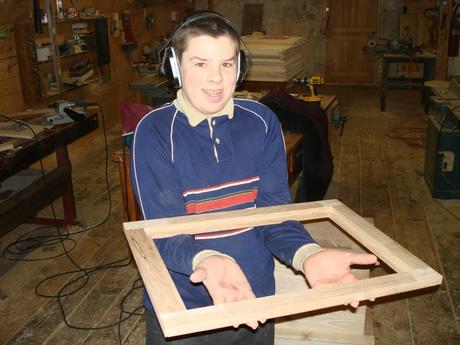
Justin cutting decorative rabbits in a frame to hold the chest.

Sugar Chest
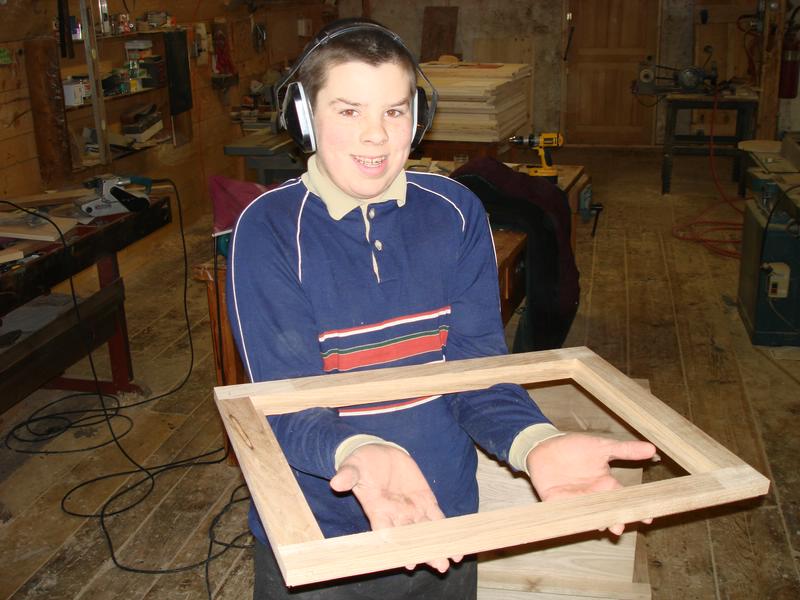
Bobby displays the frame.

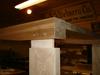
Sugar Chest
This frame will provide a safe groove for the chests to sit on the legs.

Sugar Chest
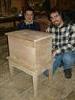
Justin and Bobby pose with the added frame.

Sugar Chest
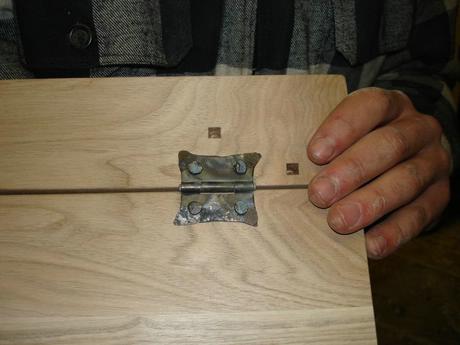
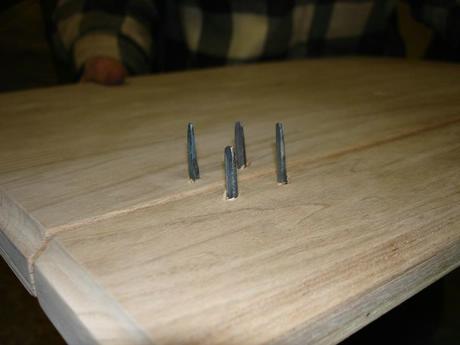
Butterfly Hinges and reforged nails have been used to create the lid.
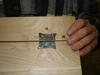
Sugar Chest
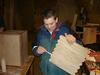
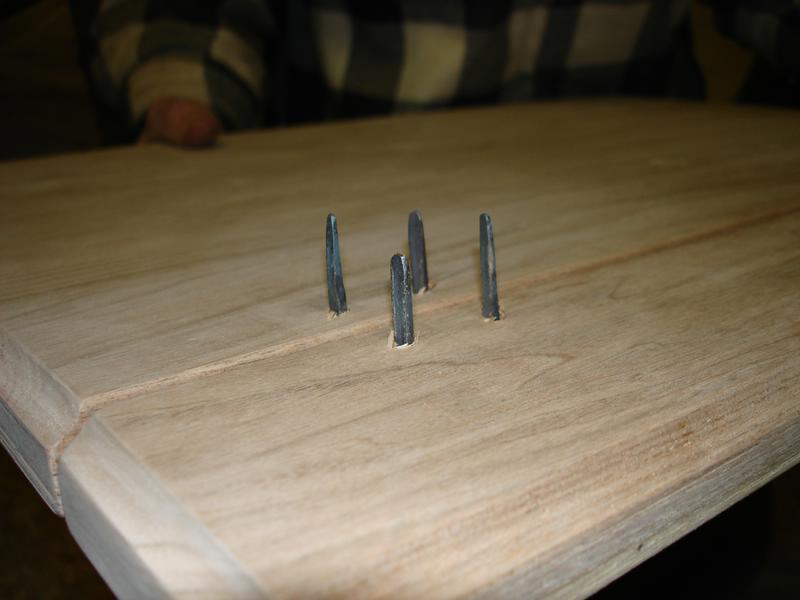
Here we wanted to to give you a glimpse of the nails before they are bent back.

Sugar Chest
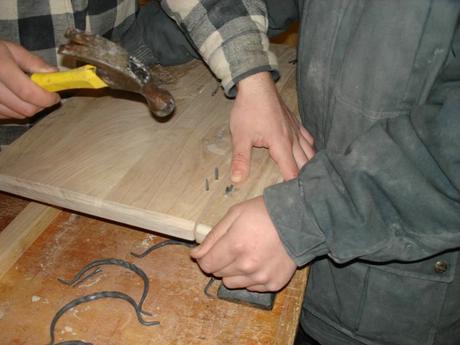
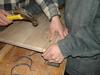
Useing a small anvil hold the nails on one side we have bent the nails.
Sugar Chest
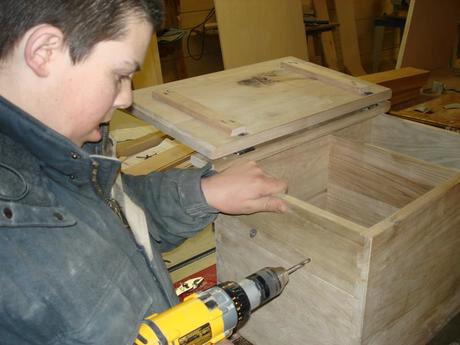
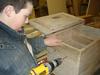
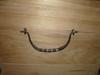
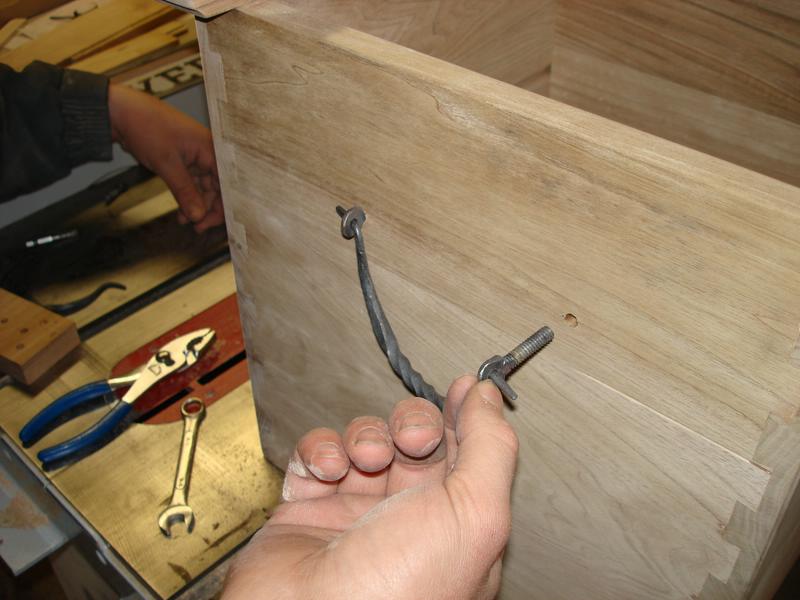
Bobby drills holes for bolts that have been reforged to hold the handles.
Sugar Chest
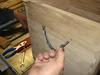
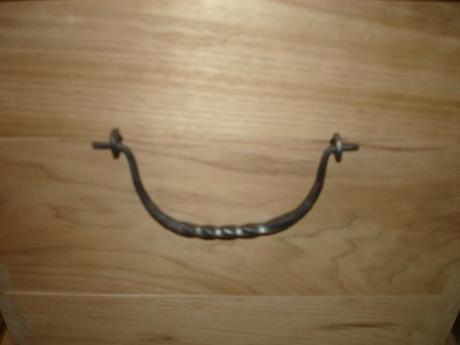
The grip is placed in small holes drilled in the bolts and then the completed handle is secured to the piece.

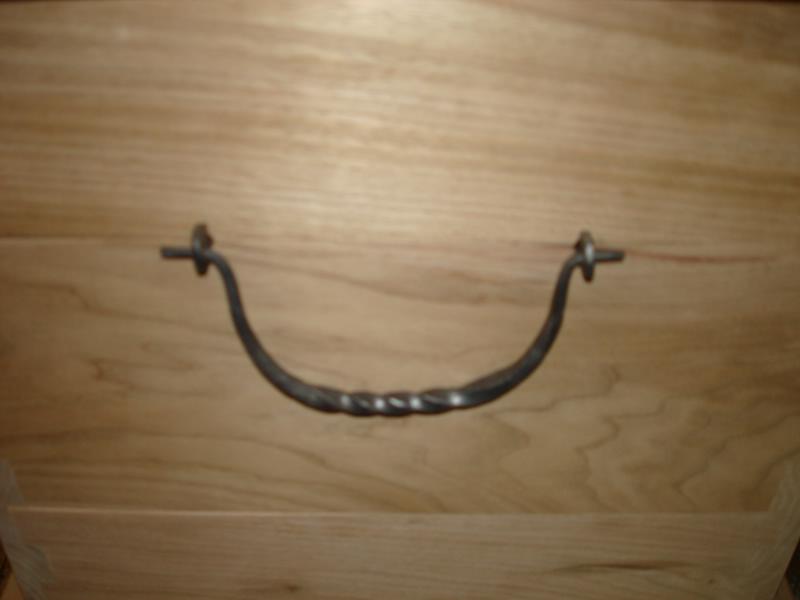
Sugar Chest
Handforged, these grips add to the rustic beauty of the piece.


Sugar Chest
Now we are ready to stain it.
Sugar Chest
Linseed oil is now brushed on the chests.


Sugar Chest
Staining our projects is the most rewarding part of our work as the finish, brings out the beauty of the wood.

Sugar Chest
After being stained, the chest is put aside to dry.


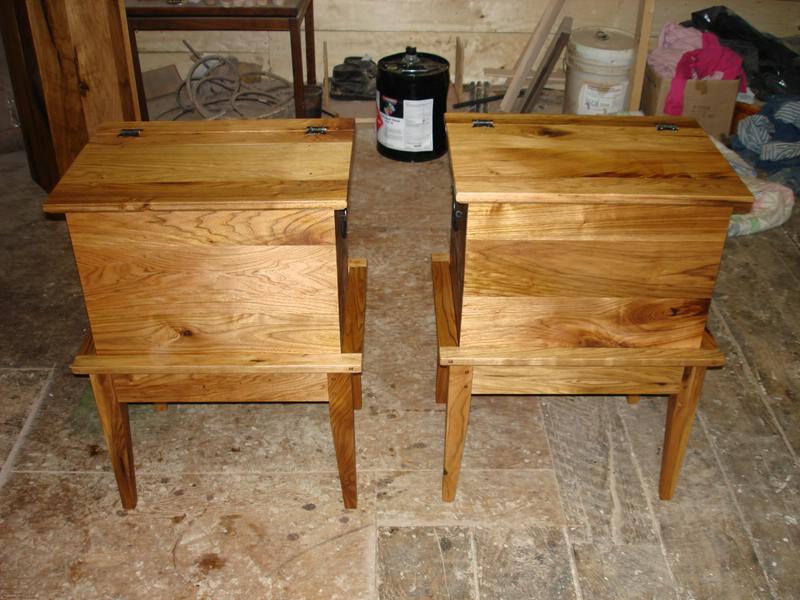
Sugar Chest
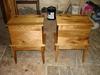
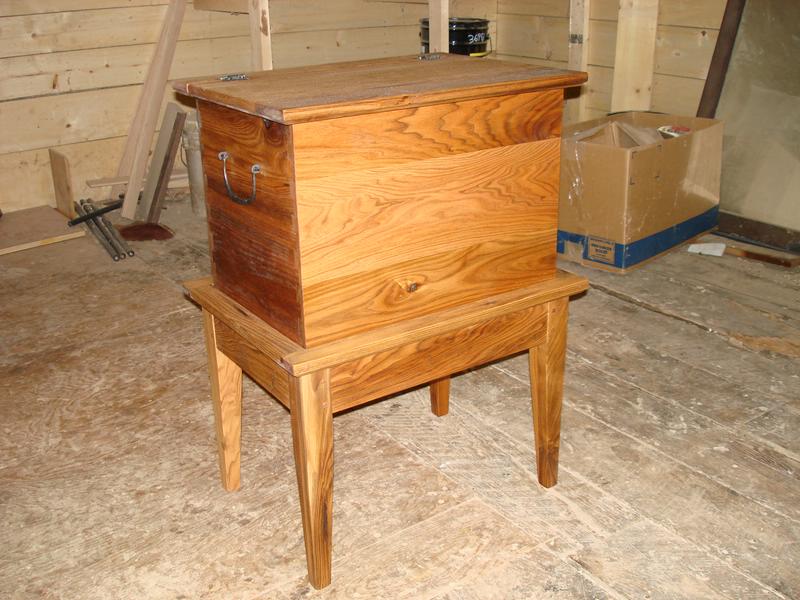
And now the chests are complete and ready to be shipped to their owners.

Sugar Chest
A craftmans delight is the work of his hands.Thanks for viewing this slideshow.

