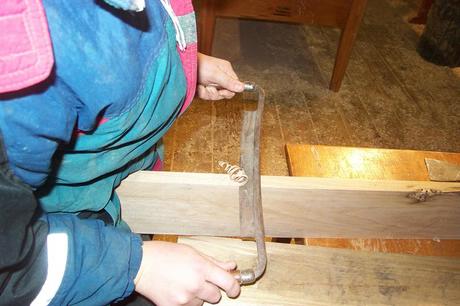
Bobby uses the drawknife. This makes it look like the edges are pulling away, when in reality they are tightly glued.
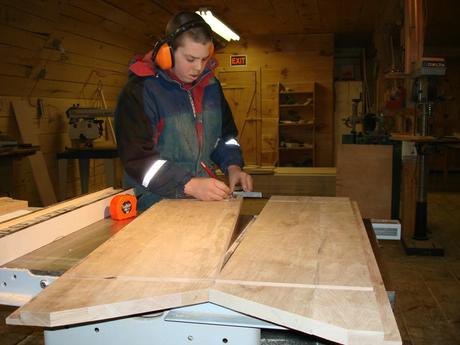
Here Justin uses the table saw to cut some dados.
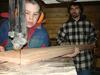
We cut the angle on top of the pulpit on the band saw.
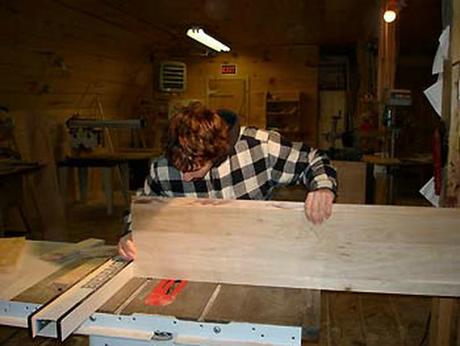
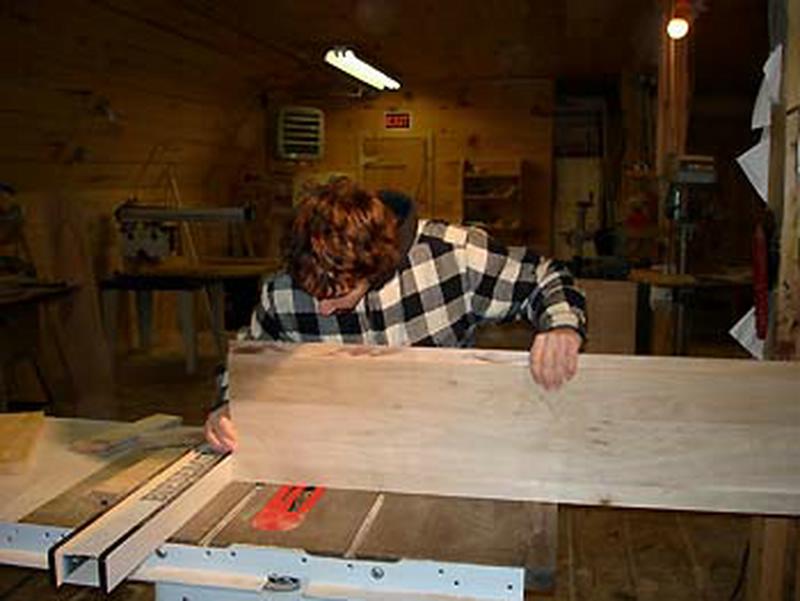
Bobby measures the sides.
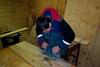
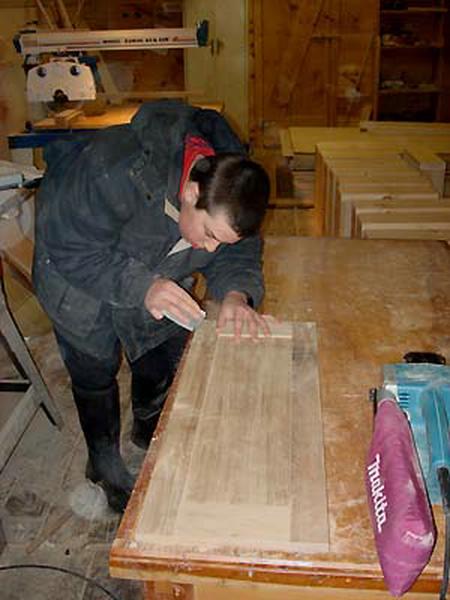
A shot of Bobby sanding the sides.
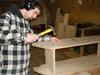
Justin nails the sides together.
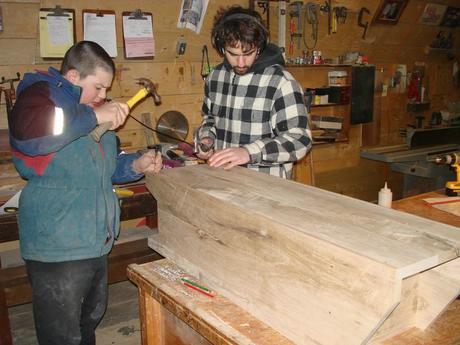
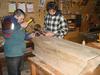
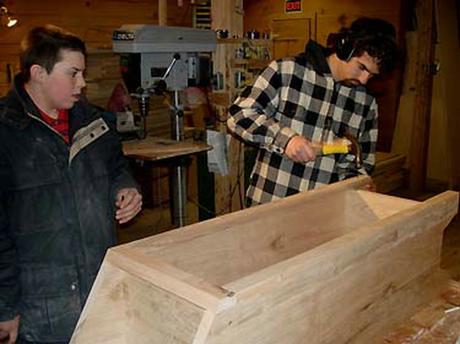
Here we are nailing the back to the piece.
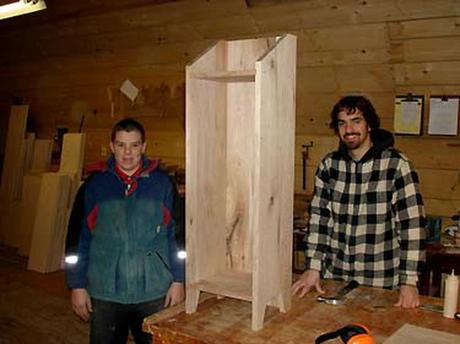
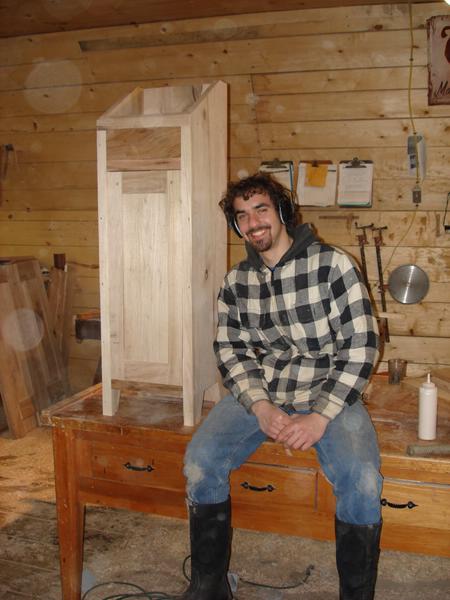
The pulpit is put together, and now ready for us to put on the faces.
A close-up of the first face to be nailed on.
Justin nails the side faces.
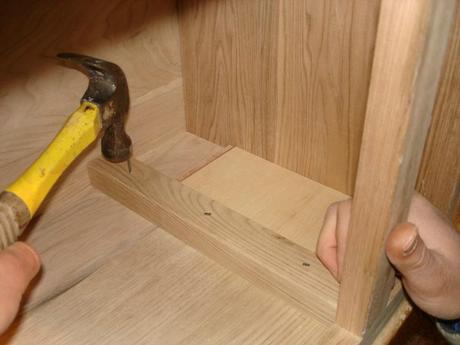
Here we nail the drawer runners in place.
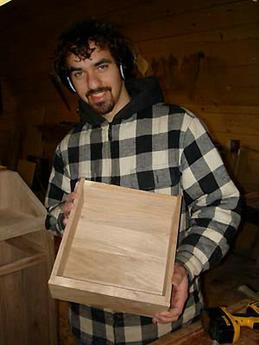
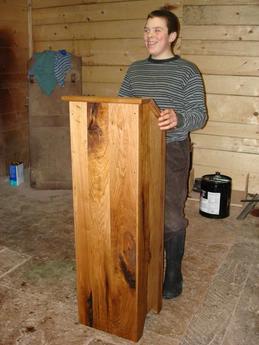
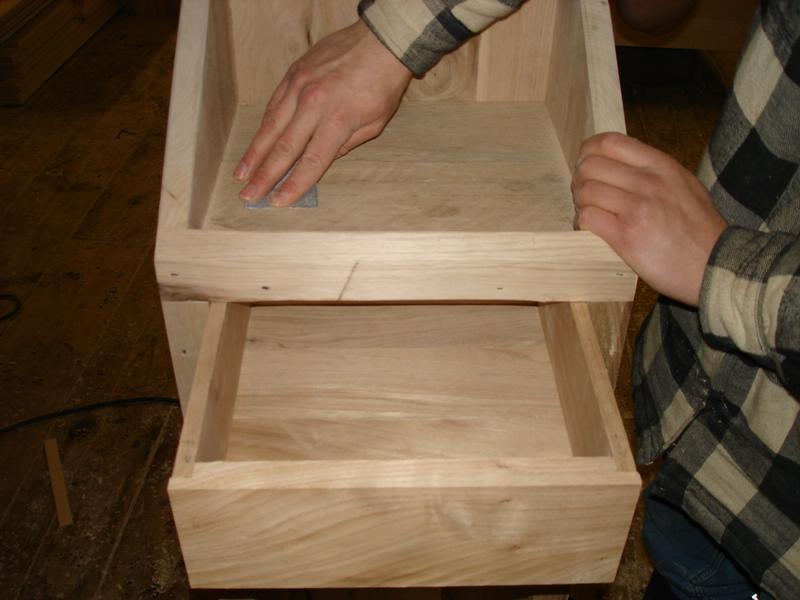
Justin shows off the constructed drawer.
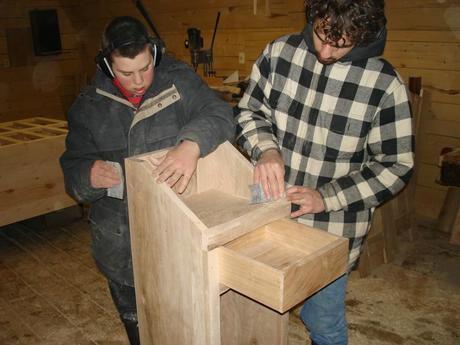
The drawer has been fit in to place, and the sanding process begins.
We give the piece its final sanding.
Bobby sands the door before it will be hung to the piece.
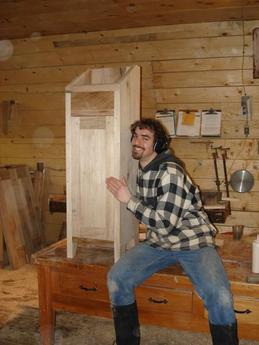
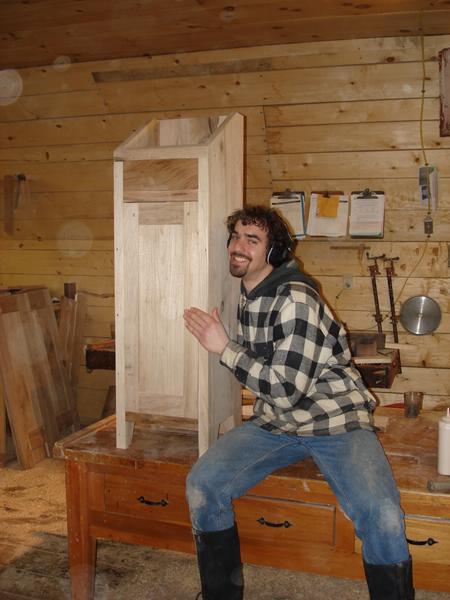
The contruction has been finished, and the piece is ready to be oiled.
We LOVE what we do!
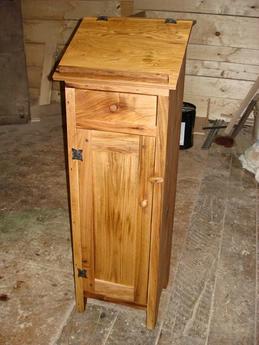
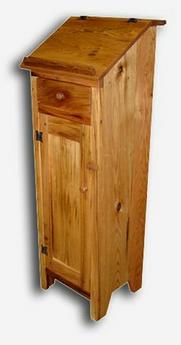
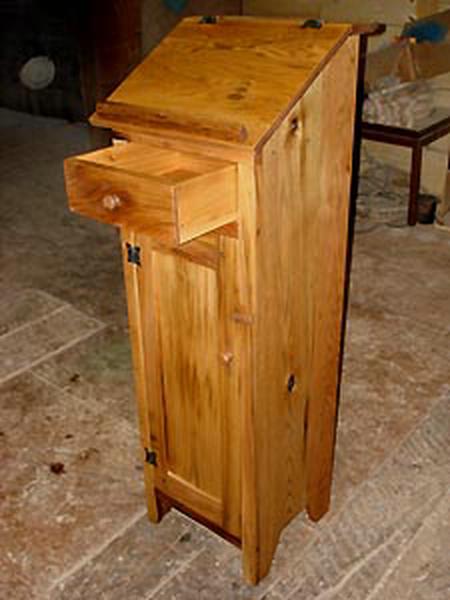
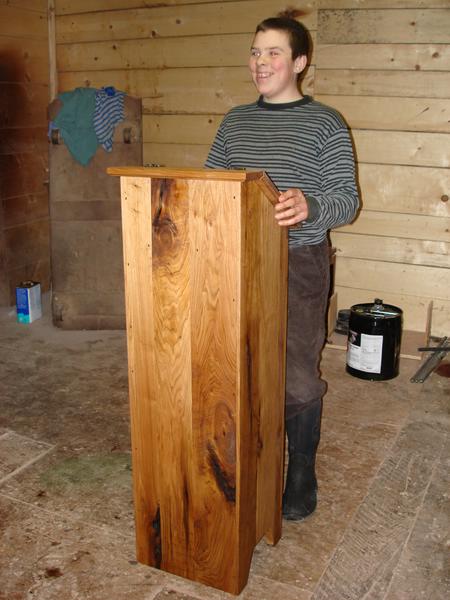
The piece has now been finished with linseed oil.
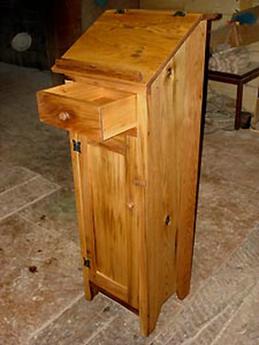
A picture showing the drawer.
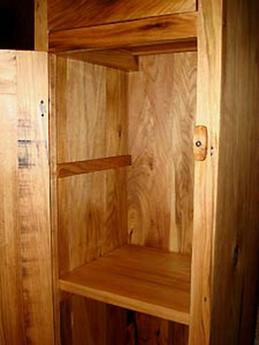
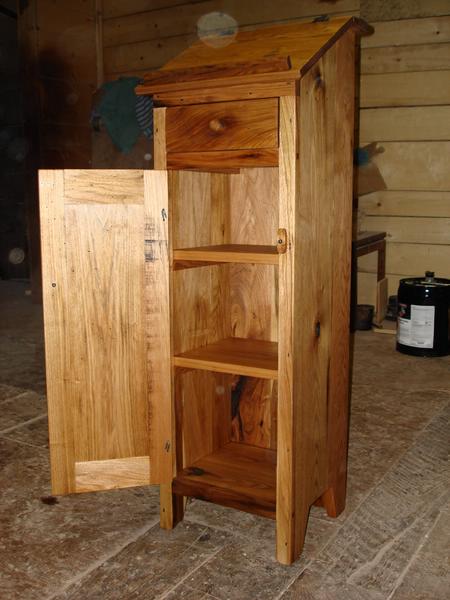
Here you can see the adjustable shelves.
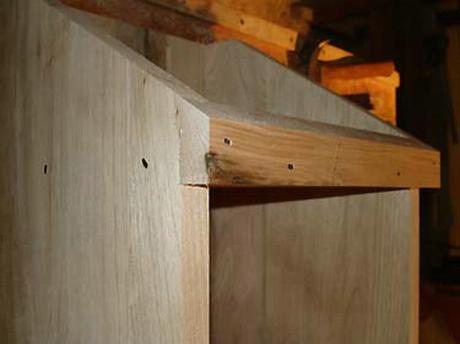
A close-up of the inside of the pulpit.
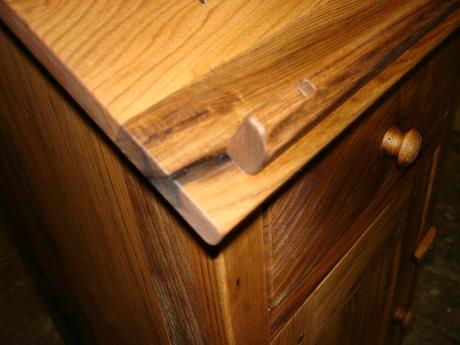
This picture shows a close-up of the lip and the drawer knob.
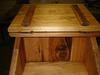
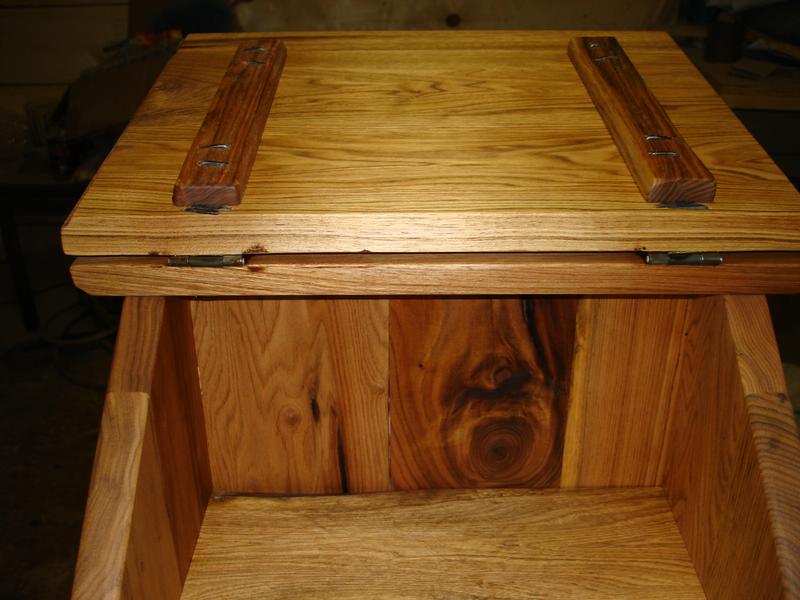
A shot of the top when uncovered.
Pastor Bobby tries out the pulpit!
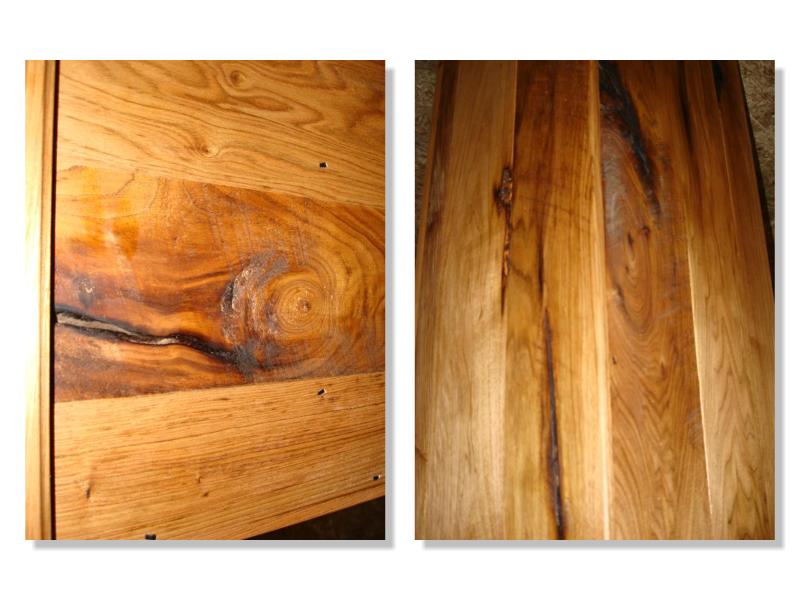
A close-up of the characteristics of butternut wood.
Thank you for watching our slideshow. We hope that you enjoyed it.


